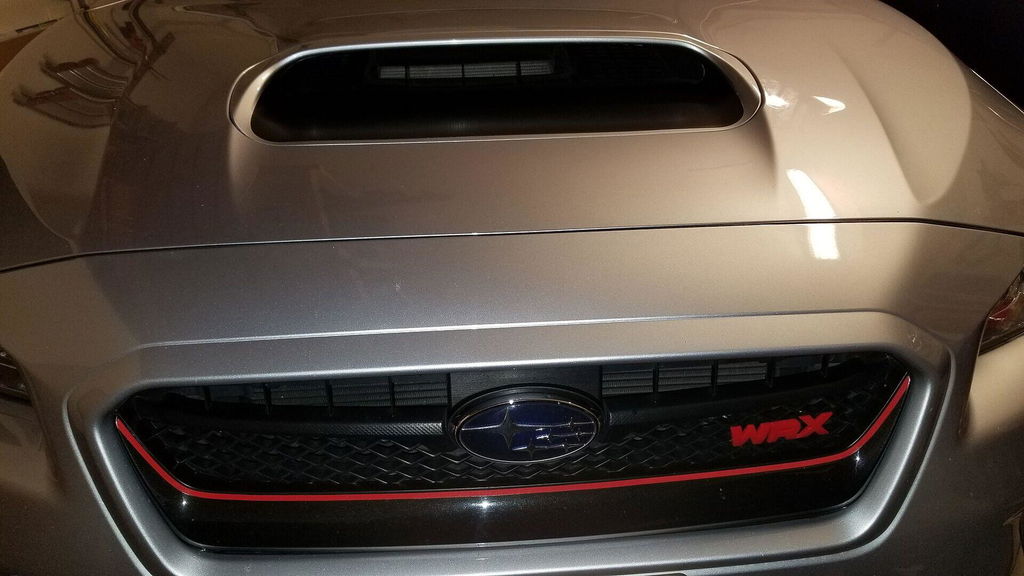
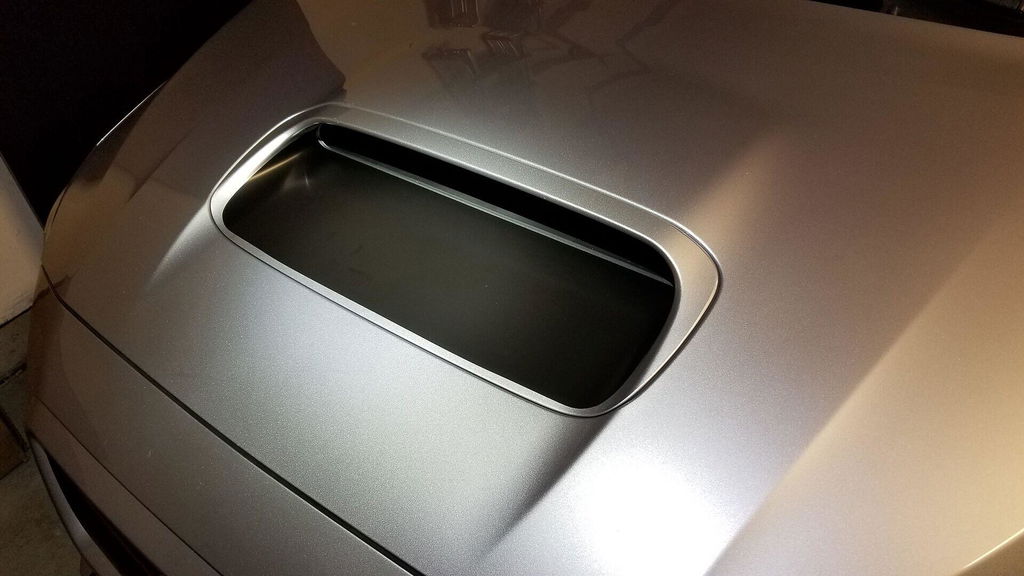
2015-2021 Subaru WRX Hood Scoop Vinyl Overlay

- SHOP BY VEHICLE
- SHOP BY PRODUCT
- NEW PRODUCTS
- BEST SELLERS
- UNIVERSAL
- VIDEO GUIDES
- MORE


Add a touch of carbon fiber, gloss black, or satin black to your hood scoop with this pre-cut vinyl overlay. Easy peal and stick install!
The Difference Between V1 and V2
The only difference between V1 and V2 is how much of the scoop you see. V1 leaves a thin accent line of the front of the scoop visible and is purely an aesthetic difference in comparison to V2.
QUICK INSTALL GUIDE: Getting the vinyl installed on your car is very easy and only requires a felt edge squeegee. Before you begin installing any vinyl overlays make sure your vehicle is cool to the touch - early morning before driving is a perfect time to apply our vinyls. You’ll first want to clean the surface by wiping the area with isopropyl alcohol, Once the surface is clean you are ready for install. Start by positioning the overlay into place following the body lines. Using your finger or felt edge squeegee start from the center and push the air out from underneath the vinyl toward the edges. Lastly, remove any excess bubbles then leave your car in the sun for 30 minutes just to let everything settle. This entire process should take you no more than 20 minutes to complete. DO NOT INSTALL THE VINYL IN DIRECT SUNLIGHT OR IN HIGH TEMPERATURE AREA.
FEATURES
Note: Always verify fitment using our vehicle selector above before purchasing.
Perfect fit, great quality
It looks great but was very hard and nerve racking to install. I’m happy with the finish product but be cautious and possibly have an extra set of hands when putting it on.
Paired with the fang overlay completed the look
This looks great in combination with the lower bumper lip vinyl and side vent vinyl. Cut of the vinyl in back is odd with fang like points but i used this to help with alignment. Instructions say to install dry but thats crazy. Clean, use soapy water, squeege, thin use heatgun back sides to roll with scoop contour.