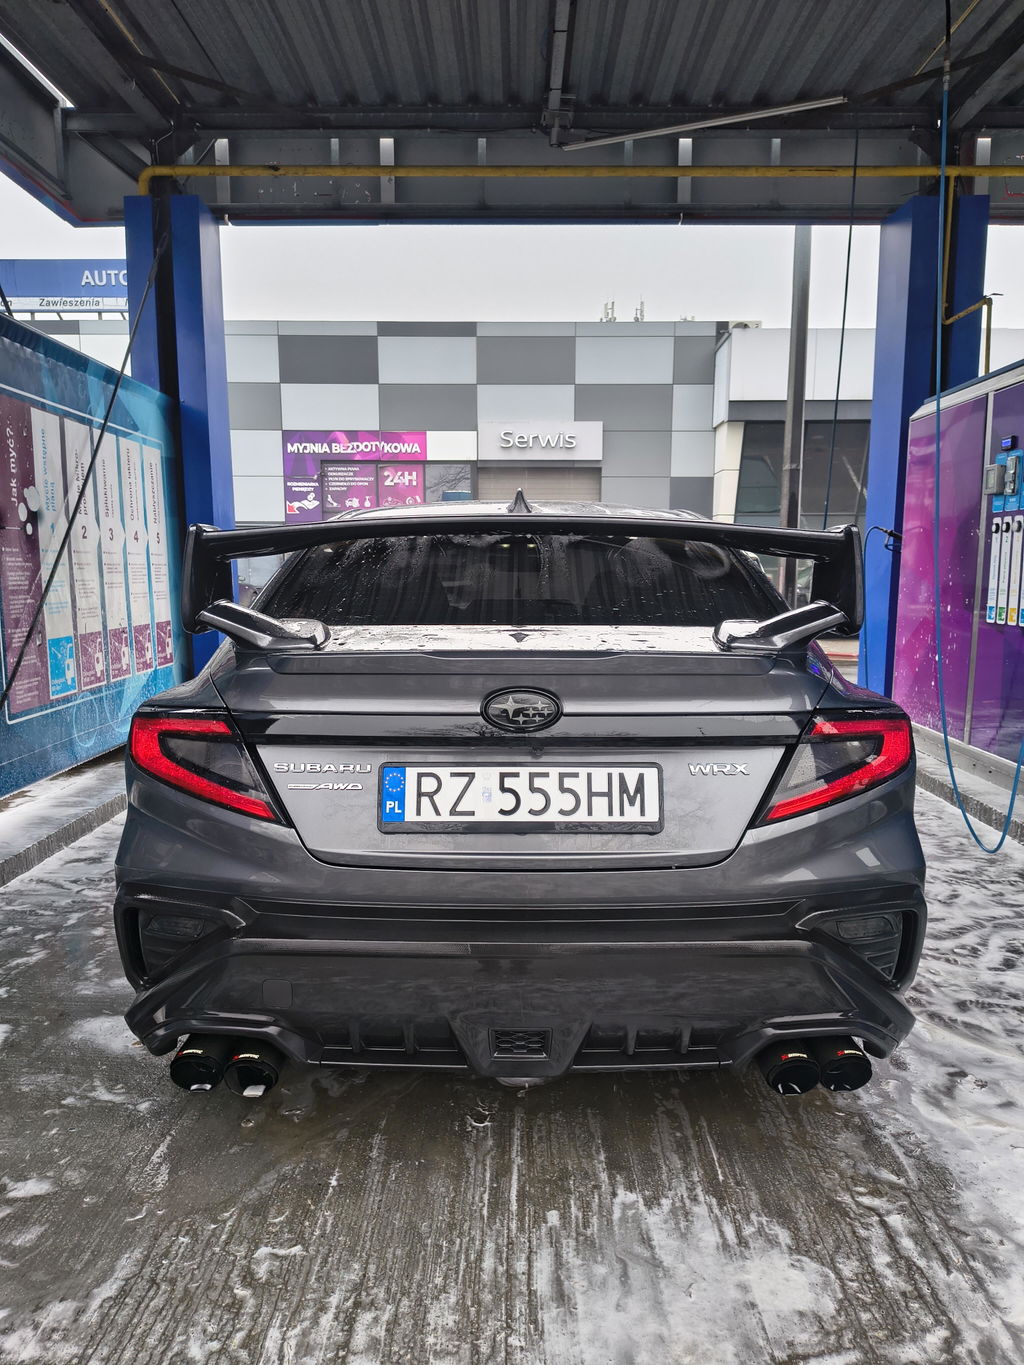
2022-2024 SUBARU WRX | INNER TAIL LIGT TINT OVERLAY - SMOKE TINT

- SHOP BY VEHICLE
- SHOP BY PRODUCT
- NEW PRODUCTS
- BEST SELLERS
- UNIVERSAL
- VIDEO GUIDES
- MORE


Give your 2022–2026 Subaru WRX tail lights a darker, more distinctive appearance with our precision-cut Inner Tail Light Tint Overlays. These overlays cover the inner turn-signal and reverse-light sections to help visually transform the factory tail-light design.
Made from medium smoke automotive tint film, each overlay is computer-cut for accurate, vehicle-specific fitment. This easy-to-install modification delivers a noticeable appearance change without replacing or permanently modifying the factory tail lights.
Watch our step-by-step installation video before applying your Subaru WRX inner tail-light tint overlays. The video provides helpful guidance for surface preparation, positioning, alignment, squeegee technique and finishing the edges.
Wet installation is recommended for first-time installers because it allows the film to be repositioned during alignment. Experienced installers may also apply this product using a dry-installation method.
Thoroughly clean each application area to remove dirt, dust, wax, ceramic products and other surface contaminants. Use a clay bar when necessary and complete the final cleaning step with a vinyl-safe surface-preparation solution. The lenses must be completely clean before installation.
Install the overlays in a clean, shaded and temperature-controlled environment. Never apply the film in direct sunlight or on a hot, cold or wet surface. For the best results, we recommend an installation temperature between 65°F and 80°F.
Use a vinyl-safe surface slip solution. If a professional solution is unavailable, mix approximately 16 ounces of clean water with one small drop of mild dish soap. Use only a fine mist—too much solution can reduce initial adhesion and extend drying time.
Identify the driver-side and passenger-side pieces before removing the backing. Lightly mist the lens and adhesive side of the film, then position each overlay over the corresponding inner tail-light section. Carefully align the film before beginning to secure it.
Once properly aligned, hold the film in position and begin squeegeeing from the center toward the outer edges. Use controlled, overlapping strokes to remove the slip solution and any air trapped beneath the overlay.
Use gentle heat when necessary to help the film conform around curves and corners. Avoid overheating or overstretching the material. Press firmly around the entire perimeter to ensure the edges are properly secured.
Inspect the finished installation for trapped moisture, air pockets or unsecured edges. Allow the vehicle to remain in a warm, dry environment while the remaining moisture evaporates. Avoid washing the vehicle or exposing the overlays to unnecessary moisture for at least 24 hours.
Note: Always verify fitment using our vehicle selector above before purchasing.